When fixing a leak in your pond, start by visually inspecting the area for wet spots and tears in the liner. If you notice significant water loss, use a submersible pump to drain the pond after relocating any aquatic life. Carefully examine the liner and select the appropriate method for repair, such as a patch for tears, epoxy putty for concrete cracks, or sealant for small holes.
Some of the links in this article may be affiliate links. If you make a purchase through these links, we may earn a small commission at no extra cost to you. Thank you.
Before applying the repair solution, make sure to clean the area thoroughly and follow the instructions for setting it. Once the repair is complete, gradually refill the pond while keeping an eye out for any additional leaks. Regular inspections are key to preserving the longevity of your pond.
By following these steps, you can effectively address and resolve any leaks in your pond.
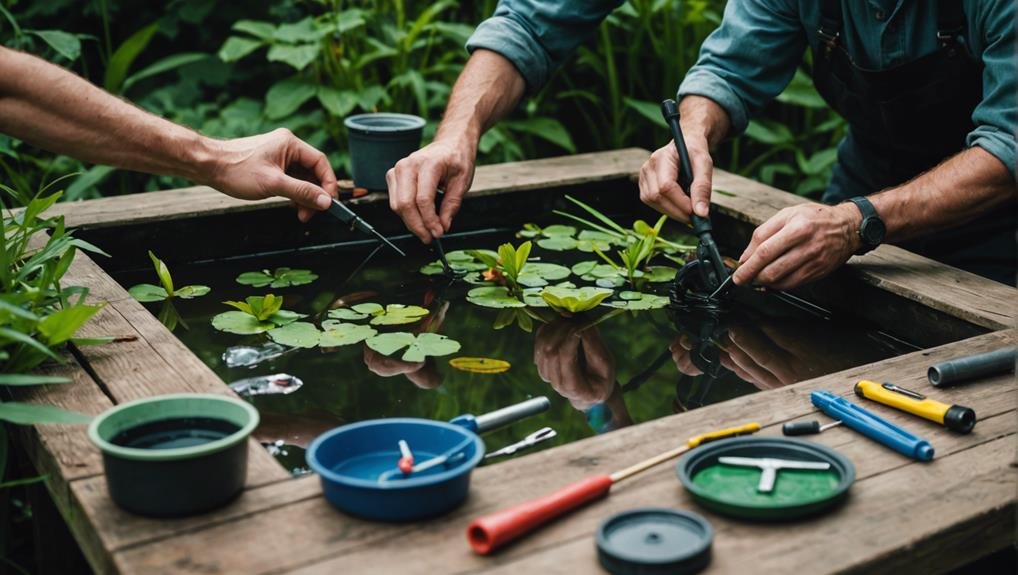
Conduct a Visual Inspection
Let's start fixing pond leaks by visually inspecting the area. Look for wet spots or standing water around the pond's edge to pinpoint where water might be escaping. Check the pond liner thoroughly for tears, punctures, or any visible damage, as it plays a crucial role in preventing leaks.
Inspect for any settling or low edges around the pond that could be allowing water to seep out. If you notice certain areas where the soil seems lower, it could indicate a leak.
Pay close attention to the waterfall unit and connected streams for any obstructions or signs of water diversion that could be contributing to the issue.
If you observe rapid water loss, it's a clear sign of a leak that needs to be addressed. By conducting a detailed visual inspection, you can identify problem areas and plan the necessary repairs to restore your pond.
Drain and Examine the Pond
To thoroughly examine the pond, we need to drain the water so we can check the bottom and liner for any damage or leaks. Draining the pond is essential to find the source of the leak and get ready for repairs. Before draining, we must relocate all aquatic life to a safe place.
Once the pond is empty, we can start the draining process using a submersible pump or siphon. While the water level decreases, we should carefully inspect the pond bottom and liner. Our main aim is to find any tears, punctures, or damage that could be causing the leak.
Here are the steps for a detailed examination:
- Checking for Wet Spots: Look for areas with wet ground, as they could indicate where the leak is coming from.
- Inspecting the Liner: Thoroughly check the entire liner for visible tears or punctures, focusing on the seams and edges.
- Examining the Bottom: Ensure that the pond bottom is clear of sharp objects or debris that might've caused damage.
Choose the Right Repair Method
Once we've identified where the leak is coming from, it's crucial to select the appropriate repair method based on the type and extent of the damage. Understanding the root cause of the leak, whether it's due to liner tears, cracks, settling edges, or other issues, is key in choosing the most effective solution.
Let's explore some common repair methods and their suitable applications:
- For liner tears, using patches is the ideal way to securely cover and mend the tear.
- Epoxy putty works well for repairing cracks in concrete ponds, thanks to its strong bonding properties.
- Sealants are great for addressing settling edges, where the edge of the pond has shifted or sunk, preventing water from escaping.
- Small holes can be effectively sealed using sealants, while larger tears may require more robust liner patches.
By assessing the size and location of the leak, we can determine the best approach to fixing it. Sealants are a good choice for small holes, while larger tears may necessitate the use of sturdy liner patches.
Taking the time to thoroughly evaluate the leak and understand its cause will ensure a successful and long-lasting repair for your pond.
Apply the Repair Solution
After choosing the appropriate repair solution, it's time to apply it directly to the identified leak on the pond liner. Ensuring thorough coverage of the affected area is crucial to seal it effectively and prevent further leakage. Following the manufacturer's instructions is key for optimal results.
Here's a simple guide to applying the repair solution:
- Cleaning the Area:
Before applying the solution, thoroughly clean the leak area to remove any dirt, debris, or algae. This step helps the solution adhere properly.
- Applying the Solution:
Use the tools recommended by the manufacturer to generously apply the repair solution over the leak. Ensure to cover a slightly larger area than the leak for a secure seal.
- Setting and Curing:
Allow the repair solution to set and cure completely based on the product's specific instructions. Follow the indicated curing times for the best outcome.
Once the solution has set and cured, regularly check the repaired area for any signs of leakage or need for additional repairs. This proactive approach ensures the pond remains in good condition before refilling it.
Refill and Monitor the Pond
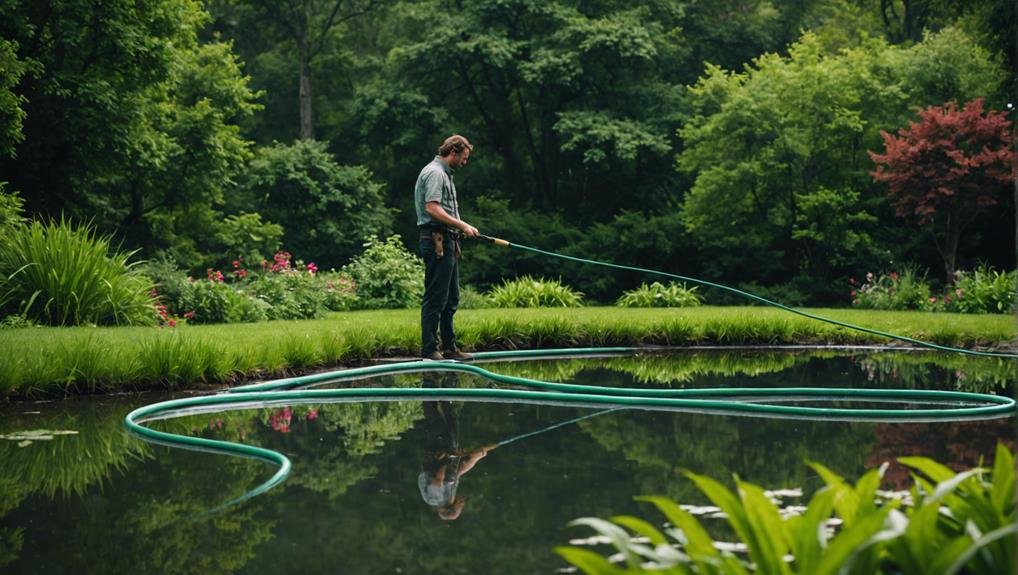
Why not refill the pond slowly to the desired water level to ensure the repair holds up? Refilling gradually allows for better monitoring of the water level to detect any potential issues early.
After refilling, it's crucial to closely watch the water level for a few days to confirm the leak has been fixed and the water remains stable.
Keep an eye out for any signs of water loss or wet spots around the pond, as these could indicate a persistent leak. Regular inspections are vital for maintaining the pond properly, as they help identify and address minor issues before they escalate.
By conducting routine maintenance, future leaks can be prevented, extending the pond's lifespan.
Maintenance goes beyond fixing leaks; it involves ongoing care and attention. Regularly monitoring the water level and inspecting the pond for any signs of trouble is crucial.
This proactive approach not only saves time and money but also ensures the pond remains a beautiful and functional part of the outdoor space for years to come.
Conclusion
We've covered the necessary steps for addressing pond leaks on our own.
Start by visually inspecting the pond, then draining and closely examining it to locate the source of the leak.
Next, choose the appropriate repair method and apply the solution accordingly.
Once the repair is done, refill the pond and keep a close eye on it to ensure the issue is fully resolved.
Remember, fixing a leak isn't just about patching it up; it's about maintaining the overall health of our pond.
These steps empower us to handle minor setbacks and keep our pond looking its best.