Discover effective methods for repairing pond leaks without the need to drain the entire pond. By visually identifying leaks, conducting dye tests, or utilizing sound detection technology, you can pinpoint the exact areas that require attention.
Some of the links in this article may be affiliate links. If you make a purchase through these links, we may earn a small commission at no extra cost to you. Thank you.
Implement underwater sealing techniques such as epoxy putty, hydraulic cement, and pond patches to create secure seals without the hassle of removing water. Skimmer leaks can be fixed by replacing gaskets and applying sealants.
Following repairs, consistent monitoring is essential to ensure no further issues arise. Regular inspections for preventive maintenance can help prevent future leaks, preserving your pond's structural integrity and water quality.
Dive into these detailed strategies to keep your pond in optimal condition.
Pond Leak Detection
Detecting leaks in a pond requires careful observation and attention to detail. One key indicator is a faster-than-usual decrease in the water level, even when factoring in evaporation and regular usage. If the water level continues to drop beyond expected rates, there may be a leak present.
Another effective method is to mark the water line and monitor it during periods of inactivity in the pond. A reduction in the water level over time indicates a possible leak. Additionally, a bucket test can be conducted by sealing off inlets and outlets to measure water loss. A significant decrease in water confirms the presence of a leak.
Visual inspections play a crucial role in leak detection as well. Look for wet spots around the pond, sinkholes, or collapsing banks, which may signal underground leaks. Check the pond liner for any cracks, holes, or separations at the seams.
Locating the Leak
To find a leak in a pond, we'll first visually inspect the edges and bottom for cracks or any suspicious areas. If the issue isn't visible, we can conduct a dye test by adding a biodegradable dye to the water and observing where it escapes.
Additionally, we can use sound detection techniques to pinpoint the sound of water escaping, which can help locate the leak accurately. These methods are crucial in identifying and fixing leaks promptly to maintain the pond's water levels and quality.
Visual Inspection
Before starting any repairs, it's crucial to visually pinpoint the leak's origin in the pond. Locating where the water is escaping will help determine the most effective solution. The process begins with a thorough examination of the pond's perimeter, carefully checking for visible cracks or gaps in the liner or surrounding structure. Additionally, we'll look out for any signs of water seepage, such as wet areas or erosion around the pond's edges.
If the leak isn't apparent from the pond's edges, a close inspection of the water's surface is necessary. Any unusual rippling or bubbling on the water might indicate a breach beneath the surface. Sometimes, draining a small section of the pond might be required to expose the potential leak area for a more detailed examination.
Taking notes and documenting any suspicious areas during the visual inspection is essential. This information will serve as a guide for the next steps, whether it involves a simple patch repair or a more extensive liner replacement. Accurately identifying the leak's location is key to ensuring a lasting and successful fix.
Dye Testing
When visual inspection falls short in identifying the exact location of a leak, we turn to dye testing. This method involves adding a brightly colored, harmless dye to the pond's water system. The dye seeps out through any cracks or holes, leaving a visible trail that leads us straight to the source of the leak.
Liquid or powder dye is carefully measured and diluted according to the pond's size and water volume. Following the manufacturer's instructions precisely ensures the dye concentration is strong enough for visibility without risking stains or harm to aquatic life.
As the dyed water escapes through the leaks, we track its path meticulously, marking the areas where the colored water surfaces. This process precisely identifies the spots needing repair, allowing us to fix the leaks without draining the entire pond.
This eco-friendly and efficient method eliminates the need for traditional draining approaches.
Sound Detection
In addition to visual inspection and dye testing, we utilize advanced sound detection technology to detect hard-to-find leaks. This technique involves using highly sensitive microphones and headphones to listen for the unique sounds of water escaping. By carefully scanning the area and moving the microphone around, we can pinpoint the exact location of the leak by following the loudest noise.
Sound detection is especially valuable when leaks are concealed underground or behind walls. The microphones can detect the sound of water flowing or dripping, even through layers of concrete or soil. This non-invasive method saves time and effort compared to traditional exploratory digging.
Our technicians utilize specialized software to filter out background noise and enhance the acoustic signature of the leak. With their expertise, they can often determine the type and severity of the leak based on its distinct sound profile. This precise information allows us to make targeted repairs without the need for extensive excavation.
In more challenging cases, we may combine sound detection with other techniques like ground-penetrating radar or tracer gas. However, sound detection is typically our preferred method for quickly locating leaks with minimal disruption. Its accuracy enables us to address issues promptly without unnecessary disturbance to the surroundings or draining of the water feature.
Preparing for Repair
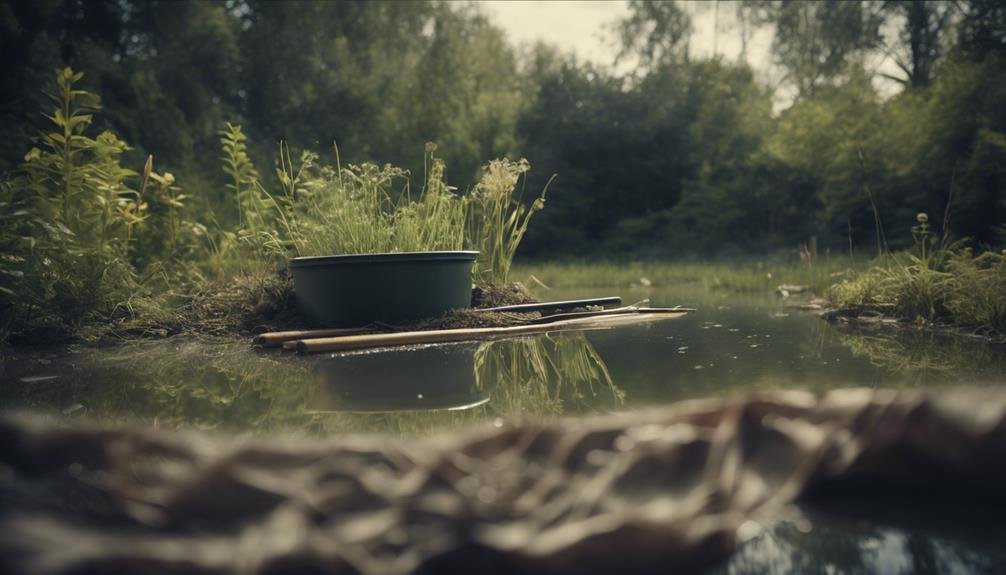
Before we start fixing the leak, we'll carefully inspect the area and gather all the necessary tools and materials.
It's crucial to protect the surrounding environment by laying down tarps or protective sheeting to catch any debris or spills.
This preparation ensures a smooth and efficient repair process.
Inspect Leak Site
Before starting the repair work, it's crucial to carefully examine the leak site. Take the time to thoroughly inspect the area surrounding the leak, noting any potential obstacles that could complicate the repair process. Identifying the exact source of the leak and assessing its severity is paramount.
Pinpoint the precise location where water is escaping and estimate the size and volume of the leak. Additionally, check the surrounding area for any debris, rocks, or roots that may obstruct access to the leak site. This information will be valuable in determining the best approach for repairing the leak without having to drain the entire pond.
Gathering details about the leak's accessibility, the depth of the pond at the leak site, and the condition of the surrounding terrain is essential for planning the repair effectively. Consider taking photos or videos of the leak site to track progress and document any changes or challenges encountered during the repair process.
With a thorough understanding of the leak site, you can prepare a successful repair plan and ensure you have the necessary tools and materials on hand.
Gather Necessary Tools
Once we've checked the leak site thoroughly, it's time to gather the necessary tools and materials for a successful repair. Start by getting a pond repair kit that includes waterproof sealant or a pond liner patch, along with a trowel or putty knife for application.
You'll also need a stiff-bristle brush or wire brush to clean the area around the leak for better adhesion of the sealant.
For larger leaks, consider having pond liner repair tape or specialized underwater epoxy putty on hand. If the leak is close to the pond's edge, you might need a pump or siphon to lower the water level slightly for easier access to the repair area.
Don't forget to wear safety gear like gloves and protective eyewear when working with sealants or chemicals.
Having all the tools and materials ready beforehand will streamline the repair process and increase the likelihood of a successful and lasting fix for your pond.
Protect Surrounding Area
When preparing for a pond leak repair, it's crucial to shield nearby plants and surfaces from potential spills and splatters. Covering surrounding vegetation or landscaping with tarps or plastic sheeting can prevent damage. It's also important to protect any paved areas or structures close to the repair zone as sealants and repair materials may cause stains.
Creating a contained work area by setting up barriers or temporary walls around the repair site is essential. This containment helps to keep the mess confined and prevents debris from spreading. Sturdy materials like plywood, cardboard, or sandbags can be used to construct these temporary enclosures.
Taking these precautionary steps not only safeguards the surroundings but also makes the cleanup process easier. By focusing on protecting nearby areas, we can concentrate on the repair work without concerns about causing damage. Adequate preparation plays a significant role in ensuring a smooth and successful pond leak repair project.
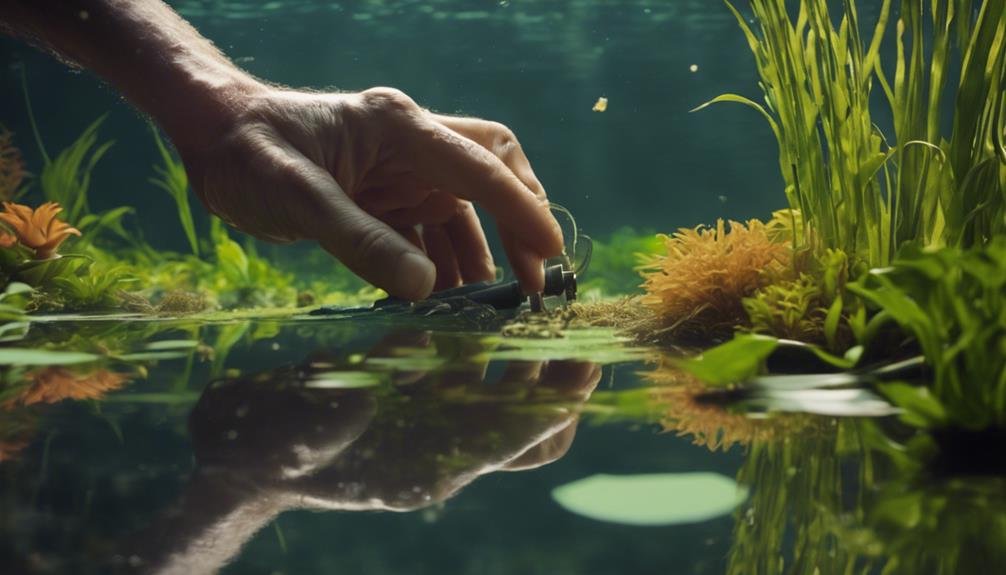
Underwater Sealing Techniques
When it comes to sealing leaks underwater, we've a range of effective techniques that involve specialized tools and materials designed specifically for aquatic environments. One method involves using underwater epoxy putty, which can be shaped and molded to fill small cracks and holes, hardening even underwater.
Another option is utilizing hydraulic cement, a fast-setting mixture that can be applied directly to the leak to seal it quickly. For more extensive repairs, we may use underwater caulking guns or pre-formed pond patches that adhere securely to the surface.
Each technique has its own set of materials and ideal applications. Epoxy putty, made of epoxy resin and hardener, works well for small cracks and holes. Hydraulic cement, requiring cement powder and water, is suitable for moderate leaks.
When dealing with larger cracks and gaps, underwater caulk from a caulking gun is effective, while rubber or EPDM sheets in pond patches are great for more extensive damage. Injection grouting, using a grout slurry and pump, is ideal for addressing underground seepage issues.
In choosing the right technique, we take into account factors like the size and location of the leak, water depth, and the long-term durability needed for the repair. By utilizing these specialized methods for sealing leaks underwater, we can fix issues without the need to drain the entire pond, minimizing disruption to the underwater ecosystem.
Pond Liner Patching

When dealing with larger holes or extensive damage to pond liners, using a patching kit can be a practical solution. This kit typically includes adhesive, reinforcing fabric, and detailed instructions.
Begin by cleaning and drying the area around the leak or hole thoroughly. Then, apply the adhesive to both the cleaned surface and the back of the patch material. Once the adhesive reaches a tacky consistency, carefully place the patch over the hole, smoothing out any wrinkles or air bubbles. For added strength, you can apply the fabric on top of the patch.
It is crucial to follow the manufacturer's instructions precisely, as different products may have varying curing times and application methods. Avoid disturbing the patch until it has completely cured.
With proper installation, a patch can create a durable, watertight seal, preventing further water loss and potential damage to the liner. Patching allows for repairs without draining the entire pond, making it a convenient and cost-effective solution for many scenarios.
External Leak Sealing
When it comes to fixing leaks that originate from outside the pond liner, it's crucial to prevent unnecessary water loss. The first step is to carefully examine the area surrounding the pond for any visible cracks or openings in the ground, which could be due to factors like tree roots, soil erosion, or settling.
Once potential leak sources are identified, it's time to take action. A hydraulic cement or water-reactive sealant specially designed for pond and water garden use is the go-to solution. These products expand as they set, creating a tight seal. Following the manufacturer's instructions, the sealant is mixed and generously applied over the cracks or holes.
For larger gaps, a form or barrier may be necessary to contain the sealant during application. After the sealant has fully cured, backfilling with soil or landscaping materials will help conceal the repaired area. This external sealing method effectively addresses leaks without the need to drain the entire pond, saving both time and effort.
If the leak persists, further consideration may be needed, such as repairing or replacing the liner itself.
Skimmer Leak Fixes
Let's begin with the skimmer, a crucial part of maintaining clear water in your pond. One common source of leaks is the skimmer gasket, which can become dry and crack over time.
By replacing the gasket or skimmer lid, you can often fix persistent leaks without having to drain the entire pond. This simple solution can save you time and effort in keeping your pond water clean and clear.
Don't forget to regularly inspect and maintain your skimmer to prevent future leaks and ensure the optimal performance of your pond filtration system.
Seal Skimmer Gasket
Leaking ponds can often be traced back to a faulty skimmer gasket. To address this issue, start by turning off the pump and carefully removing the skimmer faceplate to access the gasket. Check the gasket for any signs of damage such as cracks or tears. If the gasket is compromised, it's crucial to replace it with a compatible one that fits the skimmer model.
After removing the old gasket, make sure to clean the area thoroughly to ensure a proper seal. Apply a thin layer of gasket sealant to the back of the new gasket before firmly pressing it into place. Be sure to follow the sealant manufacturer's instructions for the correct application and curing process.
Once the new gasket is securely in place, reattach the faceplate, turn the pump back on, and inspect for any remaining leaks. Taking these steps can help prevent further water loss and keep your pond in optimal condition.
Replace Skimmer Lid
When your skimmer lid is cracked or damaged, it can lead to water loss, making it essential to replace it promptly.
To begin, ensure you have a new skimmer lid that matches the size and shape of your current skimmer opening. Start by unscrewing any screws or clips holding the old lid in place. If it's stuck, gently pry it loose with a flathead screwdriver.
After removing the old lid, thoroughly clean the skimmer opening to ensure a proper seal.
Next, apply a bead of silicone sealant around the edge of the skimmer opening. This sealant will help create a watertight seal when you install the new lid.
Carefully position the new lid and secure it tightly with screws or clips following the manufacturer's instructions. This process will help prevent water loss and ensure the efficient operation of your pool or spa.
Waterfall Leak Remedies
Waterfalls commonly develop leaks due to constant exposure to water, requiring effective solutions to prevent further damage. One option is to apply a waterproof sealant or pond liner around the waterfall structure after cleaning and preparing the surface. This sealant forms a protective barrier, stopping water from seeping through cracks or gaps.
Alternatively, using waterfall foam can address leaks by expanding and sealing any openings in the waterfall's construction. To apply, locate the leak, cut out a section of foam, and press it firmly into the area for it to cure and create a watertight seal. In cases of severe leaks, disassembling part of the waterfall to replace worn or damaged components like the liner or underlying structure may be necessary for a complete repair.
Regardless of the chosen method, promptly addressing waterfall leaks is crucial to preserve the pond's integrity and prevent further issues. It's important to act swiftly to maintain the functionality and aesthetic appeal of the waterfall feature.
Post-Repair Monitoring
After completing repairs on waterfall leaks, it's essential to keep a close eye on the area for any signs of recurring issues. Even the most careful repairs can sometimes miss the root cause of the problem. That's why we suggest conducting regular inspections every few weeks or months, depending on the initial leak's severity and the complexity of the repairs.
During these inspections, we'll thoroughly check the repaired area and its surroundings for any new signs of moisture, discoloration, or structural issues that could indicate a potential problem. We'll also monitor water flow patterns and volume changes, as these can be early indicators of a new leak. If we detect anything concerning, we'll promptly investigate and address it to prevent any escalation.
Furthermore, we'll maintain detailed records of our monitoring activities, noting any observations or changes over time. This data will help us identify any patterns or trends that can improve our repair methods and enhance future preventative measures.
Preventive Maintenance Tips
Taking proactive steps to prevent leaks can save us money on costly repairs in the future. It's essential to establish a regular inspection routine for our pond and follow these maintenance tips:
Regularly inspect the pond liner and structure for any cracks, bulges, or signs of wear and tear. Trim vegetation around the pond to prevent roots from causing damage. Keep an eye on water levels and address any sudden drops promptly, as they could indicate a leak. Additionally, make sure to winterize the pond properly to protect it from freezing temperatures.
By staying on top of these maintenance tasks, we can catch small issues early before they escalate into major leaks. Even minor cracks or tears can worsen over time, leading to significant water loss and expensive repairs.
Being proactive in our maintenance efforts will help extend the lifespan of our pond and avoid the inconvenience and cost of draining and refilling it for major fixes. Consistent care is key to keeping our pond in optimal condition and avoiding costly leaks in the long run.
Conclusion
Finding and fixing leaks in ponds early on is crucial for maintaining their structural integrity. By promptly identifying leaks, accurately pinpointing their source, and using appropriate sealing methods such as patching liners or repairing skimmers and waterfalls, we can prevent further damage.
Consistent monitoring and preventive measures like regular equipment checks, debris removal, and sealant applications are key to ensuring long-term water-tightness. This proactive approach not only minimizes the need for expensive repairs but also reduces water loss, ultimately preserving the overall health of our ponds.
Investing in high-quality sealants and durable liners can further enhance the longevity of pond structures and minimize the risk of future leaks.